Stepping into the world of nail art can seem daunting at first, with endless intricate designs and specialized tools. However, achieving a beautiful, salon-quality manicure at home is much more accessible than you might think. This guide, "Nail Art 101," is designed to walk beginners through every essential step, from proper nail preparation to simple yet stunning designs, ensuring your journey into the vibrant realm of nail art is both fun and rewarding.
The Foundation: Perfect Nail Preparation
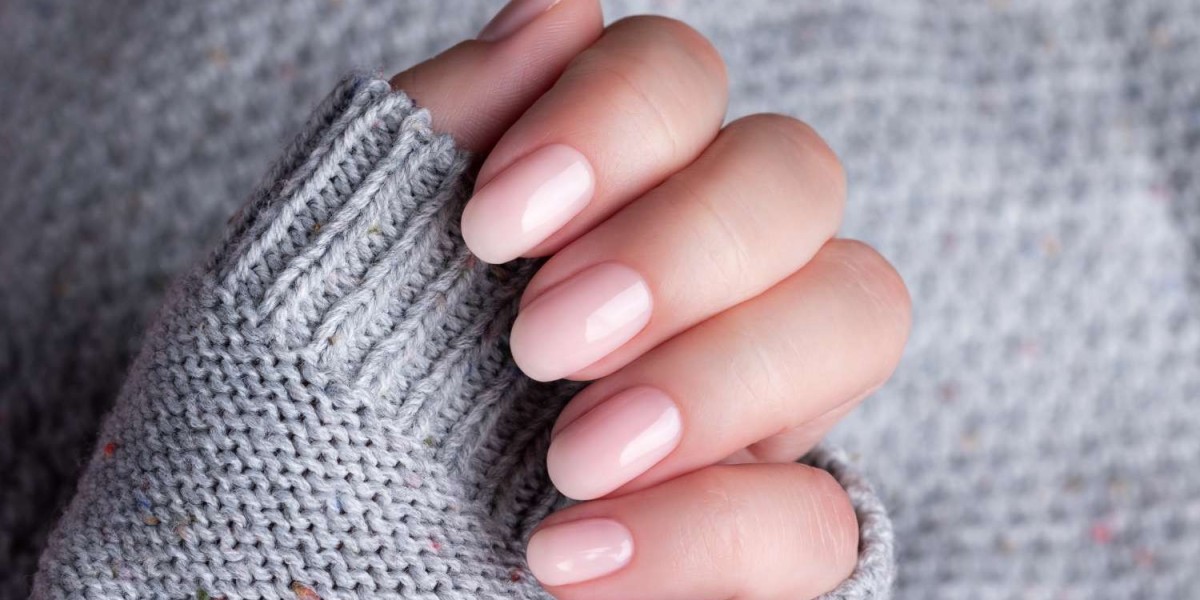
No nail art masterpiece can stand without a strong, healthy canvas. Proper nail preparation is the most crucial step, influencing not only the look but also the longevity of your manicure.
- Cleanse and Sanitize: Start by thoroughly washing your hands with soap and water. If you have any old polish, remove it completely with a non-acetone nail polish remover to prevent drying out your nails.
- Shape Your Nails: Decide on your desired nail shape – square, oval, round, almond, or coffin. Using a high-quality nail file, gently file in one direction to avoid weakening the nail. Avoid a harsh back-and-forth sawing motion. Remember to maintain the same length and shape across all nails for a cohesive look.
- Soak (Optional, but Recommended): Fill a bowl with warm, soapy water (you can add a few drops of essential oil for a spa-like experience). Soak your fingertips for 5-10 minutes to soften cuticles and skin.
- Cuticle Care: Gently push back your cuticles using a wooden or metal cuticle pusher. Be very careful and avoid cutting cuticles, as they protect your nail bed from infection. If you have any hangnails, carefully trim them with cuticle nippers, but only trim the loose skin.
- Buff and Cleanse Again: Lightly buff the surface of your nails with a nail buffer to create a smooth canvas and remove any ridges or natural oils. This helps the polish adhere better. Finally, wipe each nail with a cotton pad soaked in rubbing alcohol or nail polish remover to ensure they are completely clean and oil-free. This final cleanse is critical for polish adhesion.
The Base: Protecting and Priming Your Nails
Applying a base coat is a non-negotiable step that many beginners skip, to their detriment.
- Why a Base Coat? A base coat serves multiple purposes:
- Protection: It creates a barrier between your natural nail and the colored polish, preventing staining, especially with darker shades.
- Adhesion: It provides a sticky surface for the color polish to adhere to, which significantly extends the wear time of your manicure.
- Strength: Some base coats contain fortifying ingredients that can strengthen weak or brittle nails.
- Application: Apply a thin, even layer of base coat to each nail, ensuring you cap the free edge (the tip of your nail). Let it dry completely – usually 1-2 minutes.
The Color: Mastering Polish Application
This is where your chosen shades come to life! Proper technique ensures a smooth, streak-free finish.
- Shake, Don't Stir: Gently roll the polish bottle between your palms to mix the pigment. Shaking can create air bubbles, which can transfer to your nails.
- The Three-Stroke Method: This is the golden rule for even polish application.
- Load your brush with just enough polish (wipe one side of the brush on the bottle's neck to remove excess).
- Place a small dot of polish near your cuticle, slightly above it.
- Brush straight down the center of the nail to the tip.
- Return to the cuticle area and brush down one side.
- Repeat for the other side.
- Always cap the free edge with each coat to seal the polish and prevent chipping.
- Thin Coats are Key: It's always better to apply two or three thin coats than one thick coat. Thin coats dry faster, are less prone to bubbling, and provide a more even, professional finish.
- Drying Time: Allow each coat to dry for 2-5 minutes before applying the next. Patience is vital for a flawless manicure!
The Art: Simple Beginner-Friendly Designs
Now for the fun part – adding some flair! You don't need fancy tools or advanced skills to create eye-catching nail art.
- Dotting Tools Magic: A simple dotting tool (or even the end of a bobby pin or a toothpick) can create endless designs.
- Polka Dots: After your color coats are dry, dip your dotting tool into a contrasting polish and create dots of various sizes.
- Floral Accents: Create five small dots in a circle and a sixth in the center for a simple flower design.
- Abstract Dots: Randomly place dots of different colors for a playful look.
- Striping Tape Savvy: Striping tape is incredibly versatile and easy to use.
- Geometric Patterns: Apply striping tape in various angles or parallel lines on a dry base color. Paint over it with a contrasting color. Once dry (but not completely cured), carefully peel off the tape to reveal sharp lines.
- Negative Space Designs: Use striping tape to block off sections of your nail, leaving natural nail exposed or painting just within the taped-off areas.
- Ombre Effect (Sponge Method): This creates a beautiful gradient.
- Apply a base color and let it dry.
- On a small makeup sponge, paint two or three complementary colors in thin stripes, slightly overlapping.
- Lightly dab the sponge onto your nail, moving it slightly up and down to blend the colors.
- Repeat dabbing for more opacity. Clean up any polish around your cuticles with a small brush dipped in remover.
- Stamping for Impact: Nail stamping kits are a game-changer for beginners. They come with plates featuring etched designs, a stamper, and a scraper.
- Apply a special stamping polish (it’s more opaque) to a design on the plate.
- Scrape off the excess polish.
- Roll the stamper over the design to pick it up.
- Roll the stamper onto your nail. Practice makes perfect with this technique!
When you're looking for inspiration for your next design, remember to check out new influences. For instance, 2025 nail trends are expected to feature a blend of minimalist chrome accents, earthy tones, and playful textured finishes, offering plenty of ideas for both subtle and bold expressions. Keeping an eye on emerging styles can help you stay current and experiment with fresh looks.
The Finish: Sealing and Protecting Your Art
A top coat is your manicure's best friend, providing shine, protection, and extending its life.
- Why a Top Coat?
- Shine: It adds a glossy finish, making your nails look polished and professional.
- Protection: It seals in your color and art, protecting against chips, scratches, and fading.
- Durability: It significantly prolongs the wear time of your manicure.
- Application: Apply a generous, even layer of top coat over your entire nail design, ensuring you cap the free edge. For extra longevity, reapply a thin layer of top coat every 2-3 days.
- Drying and Aftercare: Allow your top coat to dry thoroughly. This can take longer than regular polish. For faster drying, consider quick-dry drops or sprays. Once dry, massage cuticle oil into your cuticles and surrounding skin to keep them hydrated and healthy. This also helps your manicure look fresh longer.
Troubleshooting Common Manicure Woes
- Bubbles: Apply thinner coats, roll (don't shake) your polish, and avoid painting in direct sunlight or under a fan, which can dry polish too quickly on the surface.
- Chipping: Ensure proper nail prep (especially cleaning off oils), use a base and top coat, and cap the free edge with every layer.
- Smudges: Give each layer ample drying time. Quick-dry products can help, but patience is your best tool.
Conclusion: Your Nail Art Journey Begins!
Creating beautiful nail art at home is a skill that develops with practice. Don't be discouraged by initial imperfections. Each manicure is an opportunity to learn, experiment, and express your creativity. By following these foundational steps – from meticulous preparation and precise application to experimenting with simple designs and proper finishing – you'll be well on your way to achieving perfect, envy-inducing manicures. So gather your tools, choose your colors, and let your artistic journey begin!